How to Organize Canva with Folders (Expert Tips)
This year, I hosted a Canva Cleanup Party for my followers, and I was blown away by how many people were struggling to stay organized in Canva.
And I can relate...
My Canva account becomes a mess from time to time. I find myself digging through endless uploads of old logos and templates just to find that one design I made last month, which is incredibly inefficient.
But now that I’m a certified Canva expert, I have a precise cleanup system for how to create and organize my Canva folders, how to bulk-delete designs, and tips for staying focused and motivated while I do it!
So, if you’ve ever wondered how to organize Canva for ultimate efficiency, here’s your chance!
We had such a great time during the first Canva Cleaning Party — and if you're reading this post and want an invite to the next one, just join The Bootstrap Club. You’ll get access to my VIP Vault (aka my epic resource library) and be added to my weekly email list.
How to Organize Canva: My Strategy
Full transparency: my Canva dashboard is usually a mess behind the scenes.
When I record tutorial videos, I end up with dozens of graphic versions that never make it to the final cut. Instagram Stories, promo designs, client thumbnails — it adds up fast.
1. Start by Deleting What You Don’t Need
The very first thing I do when it’s time to clean up is scroll to the bottom of my Canva homepage and start deleting.
This is the easiest way to remove all the clutter from your dashboard and start organizing the designs that you actually need for future designs.
In my opinion, this is actually the most important step in the Canva organization.
I will say, it’s super easy to get trigger happy though and accidentally delete something you meant to keep.
If that happens, don’t panic!
Just head to the Trash section in Canva, and you can restore anything you didn’t mean to delete.
2. Use Canva Folders to Organize Your Account
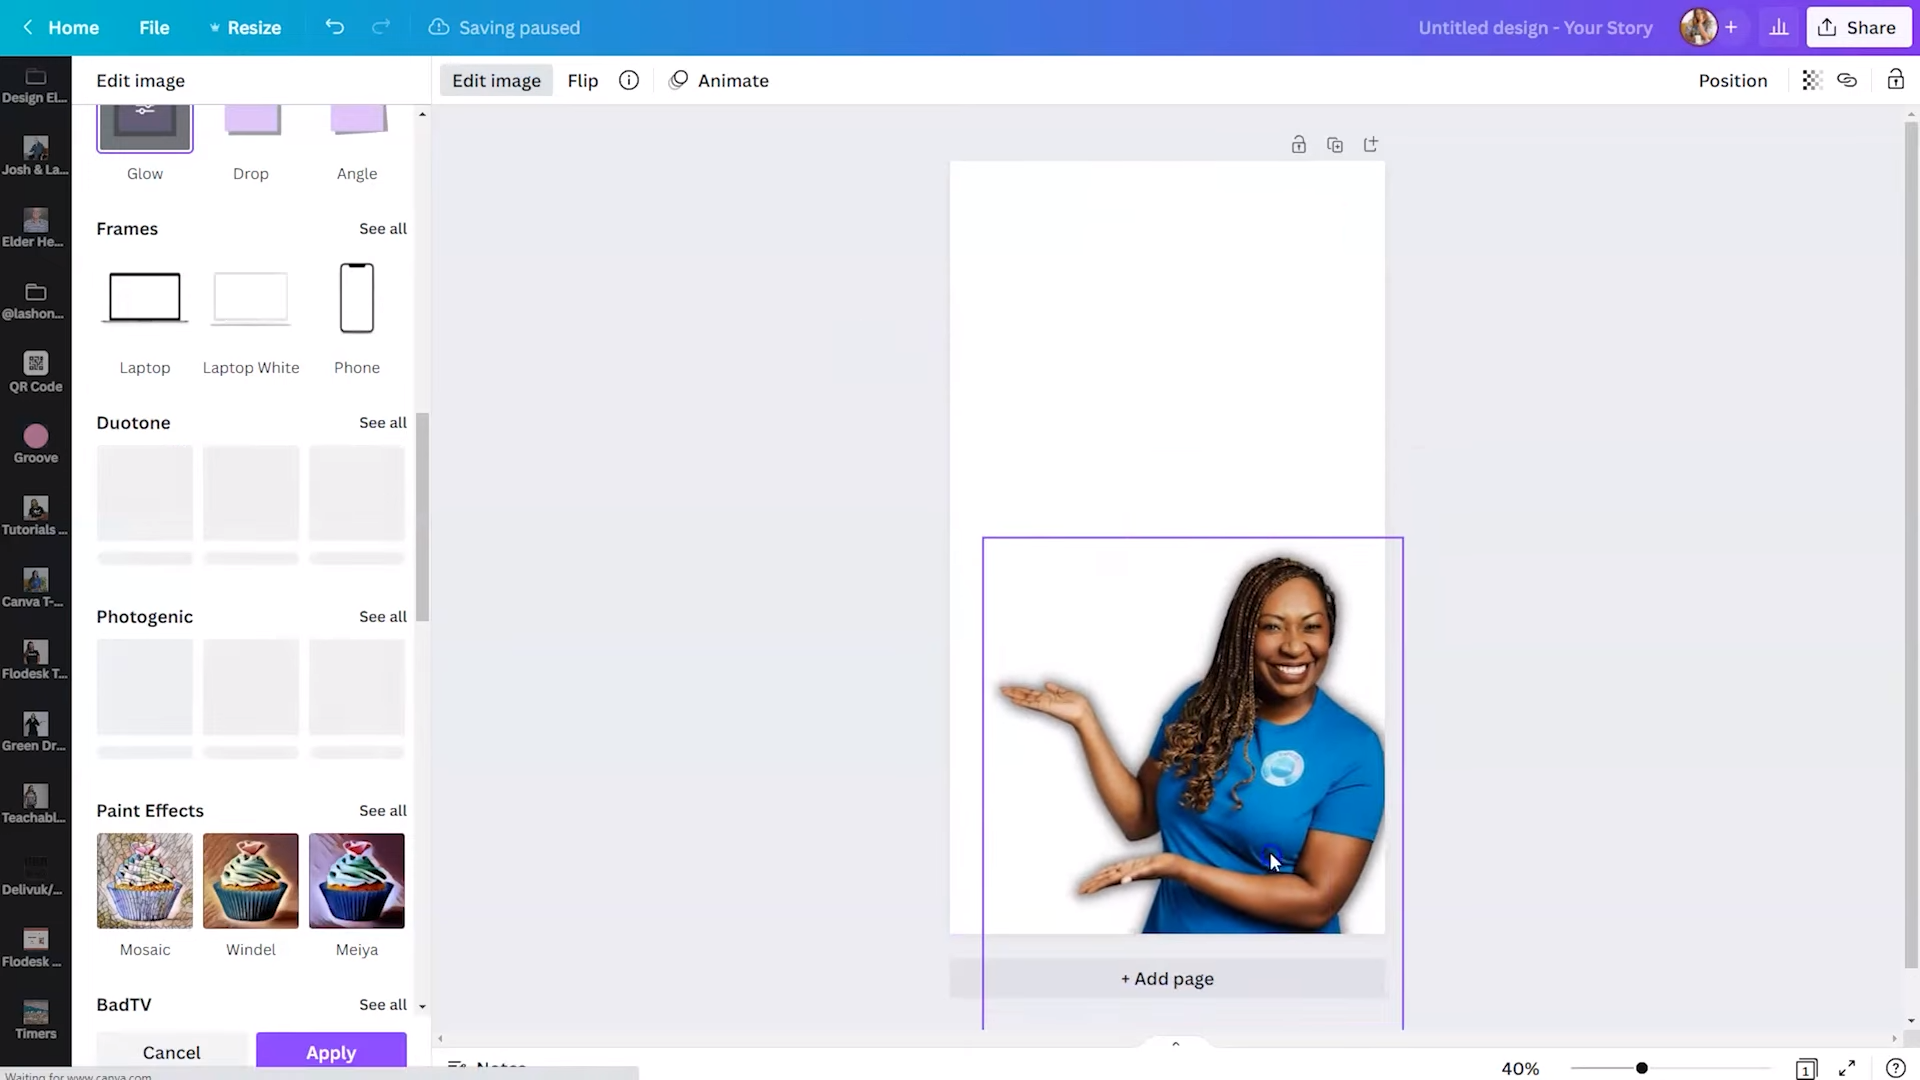
The most useful thing you can learn is how to create folders in Canva, and I love how you can access your folders from right inside the Canva Design Editor.
This is particularly helpful when I’m creating YouTube thumbnails, since I tend to use the same graphics and images over and over. I simply open my design, scroll to my thumbnail folder, drag in my image, remove the background, and I’m done.
I’m not re-uploading every single time I need the same image.
If you’ve been wondering how to organize Canva folders, here’s how I do it:
Go to Projects from your left-hand dashboard
Scroll to “Your Designs”
Hover over each image to reveal the checkbox.
Select multiple designs at once
Click the Folder icon at the bottom to move them into a new or existing folder.
Bulk-organizing your graphics this way is a huge time-saver, especially if you’re constantly making similar graphics like Instagram carousel templates, YouTube thumbnails, or lead magnets.
With the free version of Canva, you can only put up to 200 items in a single Canva folder. The pro version, on the other hand, lets you add up to 5,000 items to a single folder.
If you want to try Canva Pro for free, click here to get their longest free trial yet!
3. Organize Your Uploads, Too
If you’re wondering, should I make labels for my uploads and add them to folders, too?
Yes, and it’s easier than you think.
Click on Uploads in your design editor, and then tap the three dots on any image.
From here, you’ll have the option to either:
Move to Trash
Move to Folder (storing it with similar assets)
This keeps your uploads area clean and functional.
So when you clean up your Canva account, don’t forget about all the extra uploads!
4. Choose the View That Works for You
It doesn’t really matter which view you choose when taking some time to organize your Canva account. I’ve seen people who work out of the homepage and others who prefer to click over to the ‘Projects’ tab and work out of there.
You can view your uploads and projects in list view or grid view, whichever is easier on your eyes.
I like to scroll to the bottom of the Homepage, and I usually have it set to grid view.
It’s just about whatever helps you move the fastest—because, let’s be real, organizing design files is not my favorite task.
How Often Should You Clean Up Your Canva Account?
I recommend cleaning up your Canva dashboard at least twice a year.
That's enough for the average person who uses Canva several times per week.
But if you’re working in Canva constantly, then you could consider doing this once a quarter.
Trust me — a little cleanup now will save you so much time later when you're deep in a content creation day.
My Secret Weapon: The Canva Pomodoro Playlist
On that call, we used one of my favorite resources — my two-hour lo-fi playlist and Pomodoro timer, which you’ll find under the Productivity and Time Management playlists on my YouTube channel.
Pomodoro is a focus technique where you work in 25-minute chunks followed by 5-minute breaks.
My playlist actually counts you down and gives you audio cues so you know when it’s time to take a break. I love placing the video in the corner of my screen while I organize. It makes a huge difference.
So I set my Pomodoro timer and tackle one category at a time:
Delete old designs
Create folders
Rename files to make them easier to find
Clean up your uploads section.
Final Thoughts
If your Canva dashboard feels a bit chaotic, now is the perfect time to get organized.
Trust me when I say it will be worth the effort.
You’ve got the tools, the playlist, and a solid step-by-step plan for how to organize Canva by creating Canva folders!
Now all you need is a couple of hours set aside to make it happen!
Also, if you want to be invited to the next Canva Cleaning Party, don’t forget to join The Bootstrap Club.


